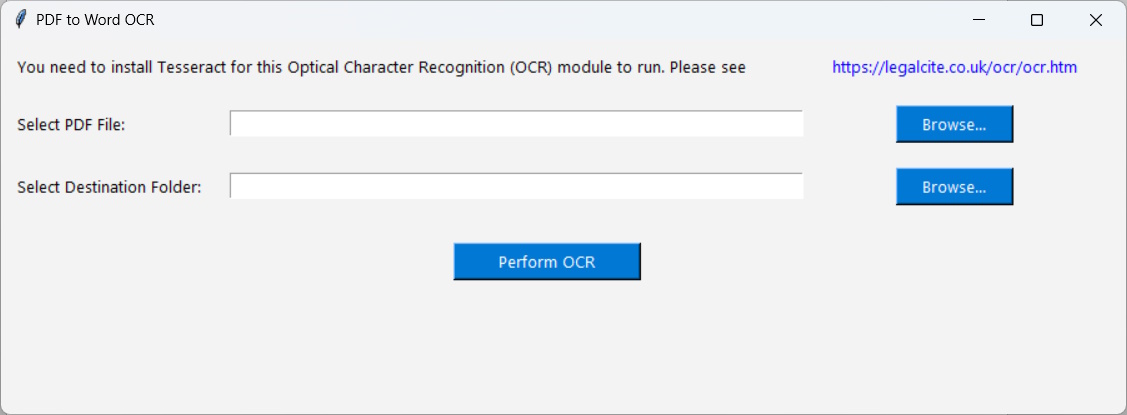
Select pdf file to perform OCR on
Select destination folder
Tesseract needs to be installed for this module to work - see below
Install Tesseract (Step-By-Step Tutorial)
Download Tesseract Installer for Windows
Install Tesseract OCR
Add installation path to Environment Variables
Run Tesseract OCR
To use Tesseract command on Windows, we first need to download Tesseract OCR binaries .exe Windows Installer.
There are many places where people can download the latest version of Tesseract OCR. Once such place is from UB Mannheim, which is forked from tesseract-ocr/tesseract (Main Repository).
Download the tesseract-ocr-w64-setup-5.3.0.20221222.exe (64 bit) Windows Installer.
Tesseract can be installed in Python prompt on macOS using either of the commands below:
brew install tesseractsudo port install tesseract
Next, we'll install Tesseract using the .exe file that we downloaded in the previous step. Launch the .exe installer to start Tesseract installation
Installer Language
Once the unpacking of the setup is completed, the installer's language data dialog will appear. You can install Tesseract to use multiple languages by selecting additional language packs, but here we'll just install the language data for the English language.

Tesseract Installer
Click OK and the Installer language for Tesseract OCR is set.
Next, the setup wizard will appear. This Setup Wizard will guide the Tesseract installation for Windows.
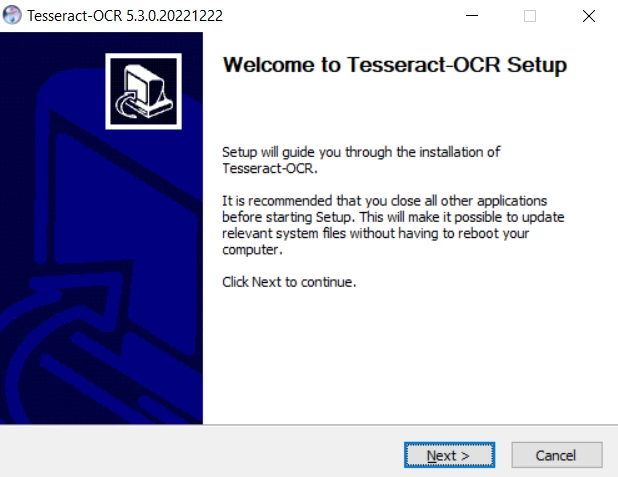
Tesseract OCR Setup Wizard
Click Next to continue the installation.
Tesseract OCR is licensed under Apache License Version 2.0. As it is open source and free to use, you can redistribute and modify versions of Tesseract without any loyalty concerns.
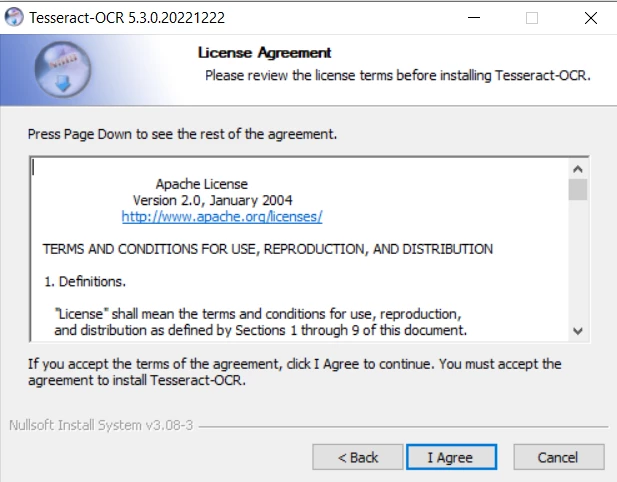
Tesseract OCR is licensed under Apache License v2.0. Please accept this license to continue with the installation.
Click I Agree to proceed to installation.
You can choose to install Tesseract for multiple users or for a single user.
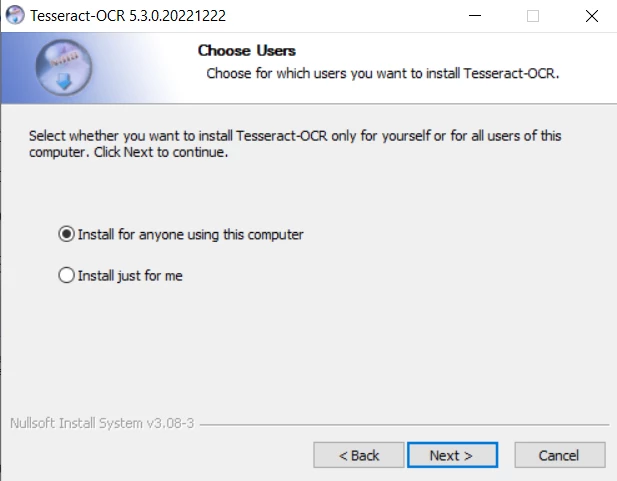
Choose to install Tesseract OCR for the Current User (you) or for all user accounts
Click Next to choose components to install with Tesseract.
Choose Components
From the components list to install, ScrollView, Training Tools, Shortcuts creation, and Language data are all selected by default. We will keep all of the default selected options. You can choose any or skip any component based on the needs. Usually all are necessary to install.
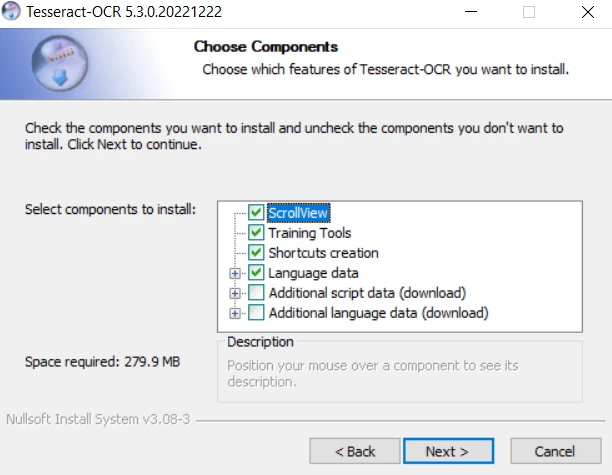
Here, you can choose to include or exclude Tesseract OCR components. For the best results, continue the installation with the default components selected.
Click Next to choose installation location.
Next, we'll choose the location to install Tesseract. Make sure you copy the destination folder path. We will need this later to add the installation location to the machine's path Environment Variable.
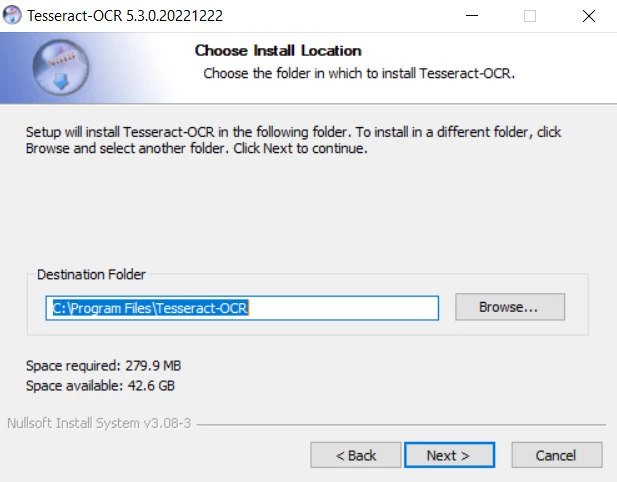
Select a install location for the Tesseract OCR library, and remember this location for later.
Click Next to further setup the installation of Tesseract.
This is the last step in which we will create shortcuts in Start menu. You can name the folder anything but I've kept it the same as default.
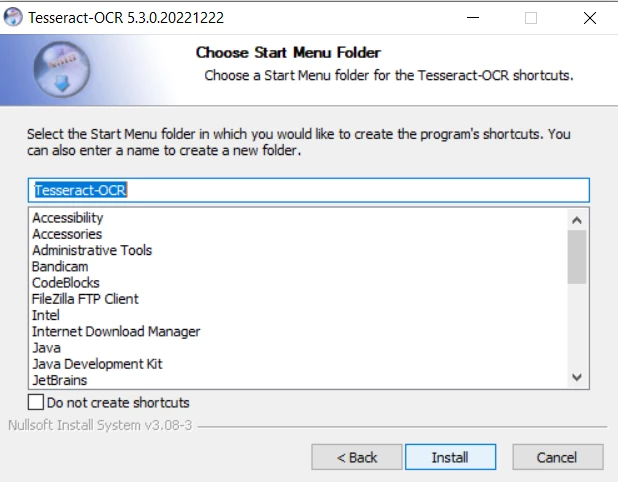
Choose the name of Tesseract OCR's Start Menu Folder
Now, click Install and wait for the installation to complete. Once the installation is done, following screen will appear. Click Finish and we are done with installing Tesseract OCR in Windows successfully.

Tesseract OCR Installation is now complete.
Now, we will add the Tesseract installation path to Windows' Environment Variables.
In the Start menu, type "environment variables" or "advanced system settings"

The Windows System Properties Dialog Box
Once the System Properties dialog box opens, click on the Advanced, and then click the Environment Variables button, located towards the bottom right of the screen.
The Environment Variables dialog box will be presented to you.
Under System variables, click on the Path variable.
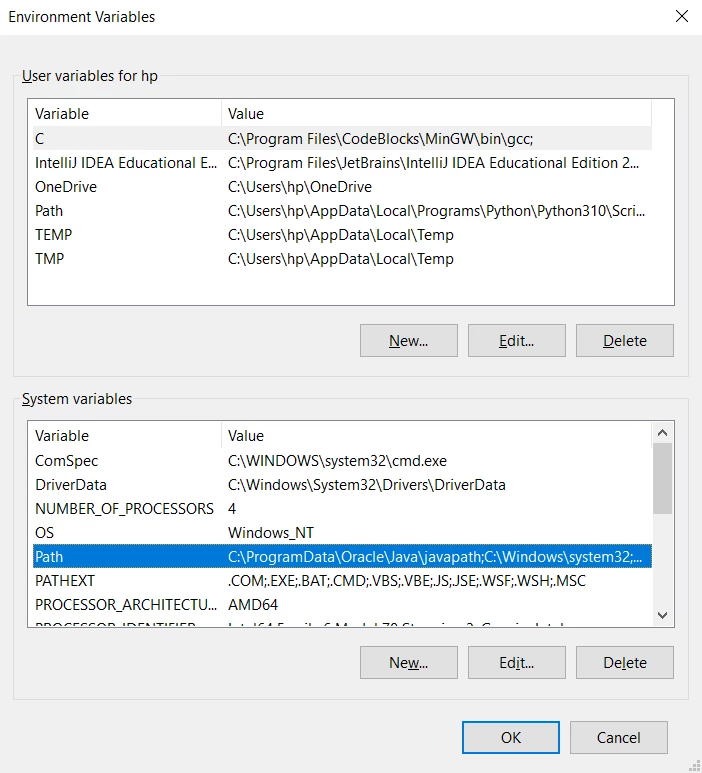
Accessing the Windows' System Environment Variables
Now, click Edit.
From the Edit environment variable dialog box, click New. Paste the installation location path which was copied during the second step, and click OK.
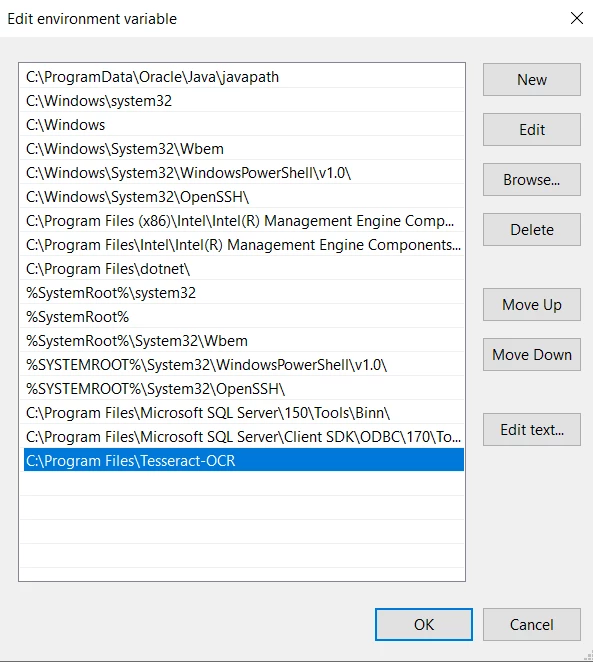
Edit Windows' Path System Environment Variable by adding an entry that includes the Absolute path to the Tesseract OCR installation
That's it! We have successfully downloaded, installed, and set the environment variable for Tesseract OCR in Windows machine.
To check that Tesseract OCR for Windows was successfully installed and added to Environment Variables, open Command prompt (cmd) on your Windows machine, then run the "tesseract" command. If everything worked fine, then a quick explanation usage guide must be displayed with OCR and single options such as Tesseract version.
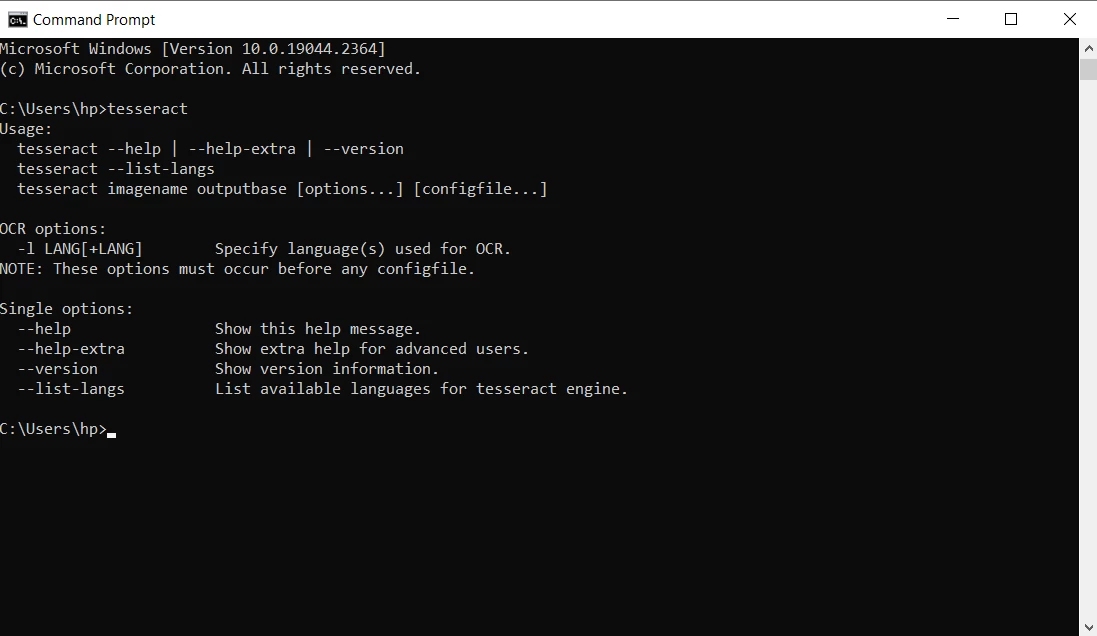
Run the tesseract command
in Windows Command line (or Windows Powershell) to make sure that the above
installation steps were done correctly. The console output is the expected
result of a successful Windows installation.